Here are some cool craft projects for you to try...
The Noticeboard Project

As D is still studying the flat is often smothered in books, paperwork and cameras. The books and camera kit are easy to store away out of view, but more often than not the his paperwork takes over. So, a few weeks back D came home with two brown cork notice boards to help display his projects and deadheads. The only trouble was... they were so ugly.
Here's what I used for this project: Purchased from our favourite store Wilkinson's, they only set him back £2 - bargain!!! After a week or two of staring at the dull brown boards I decided to take drastic action. Another trip back to Wilkinson's for a couple of cheap emulsion tester pots and a tube of black acrylic paint (less than a fiver in total) I was ready to re-work.

I decided on a striped design and masked off some lines with tape. One the first board I painted the board with all four colours, and for the second design I used black, petrol blue and exposed some of the original colour in the design. I applied two coats of each colour and allowed both boards to fully dry over night.


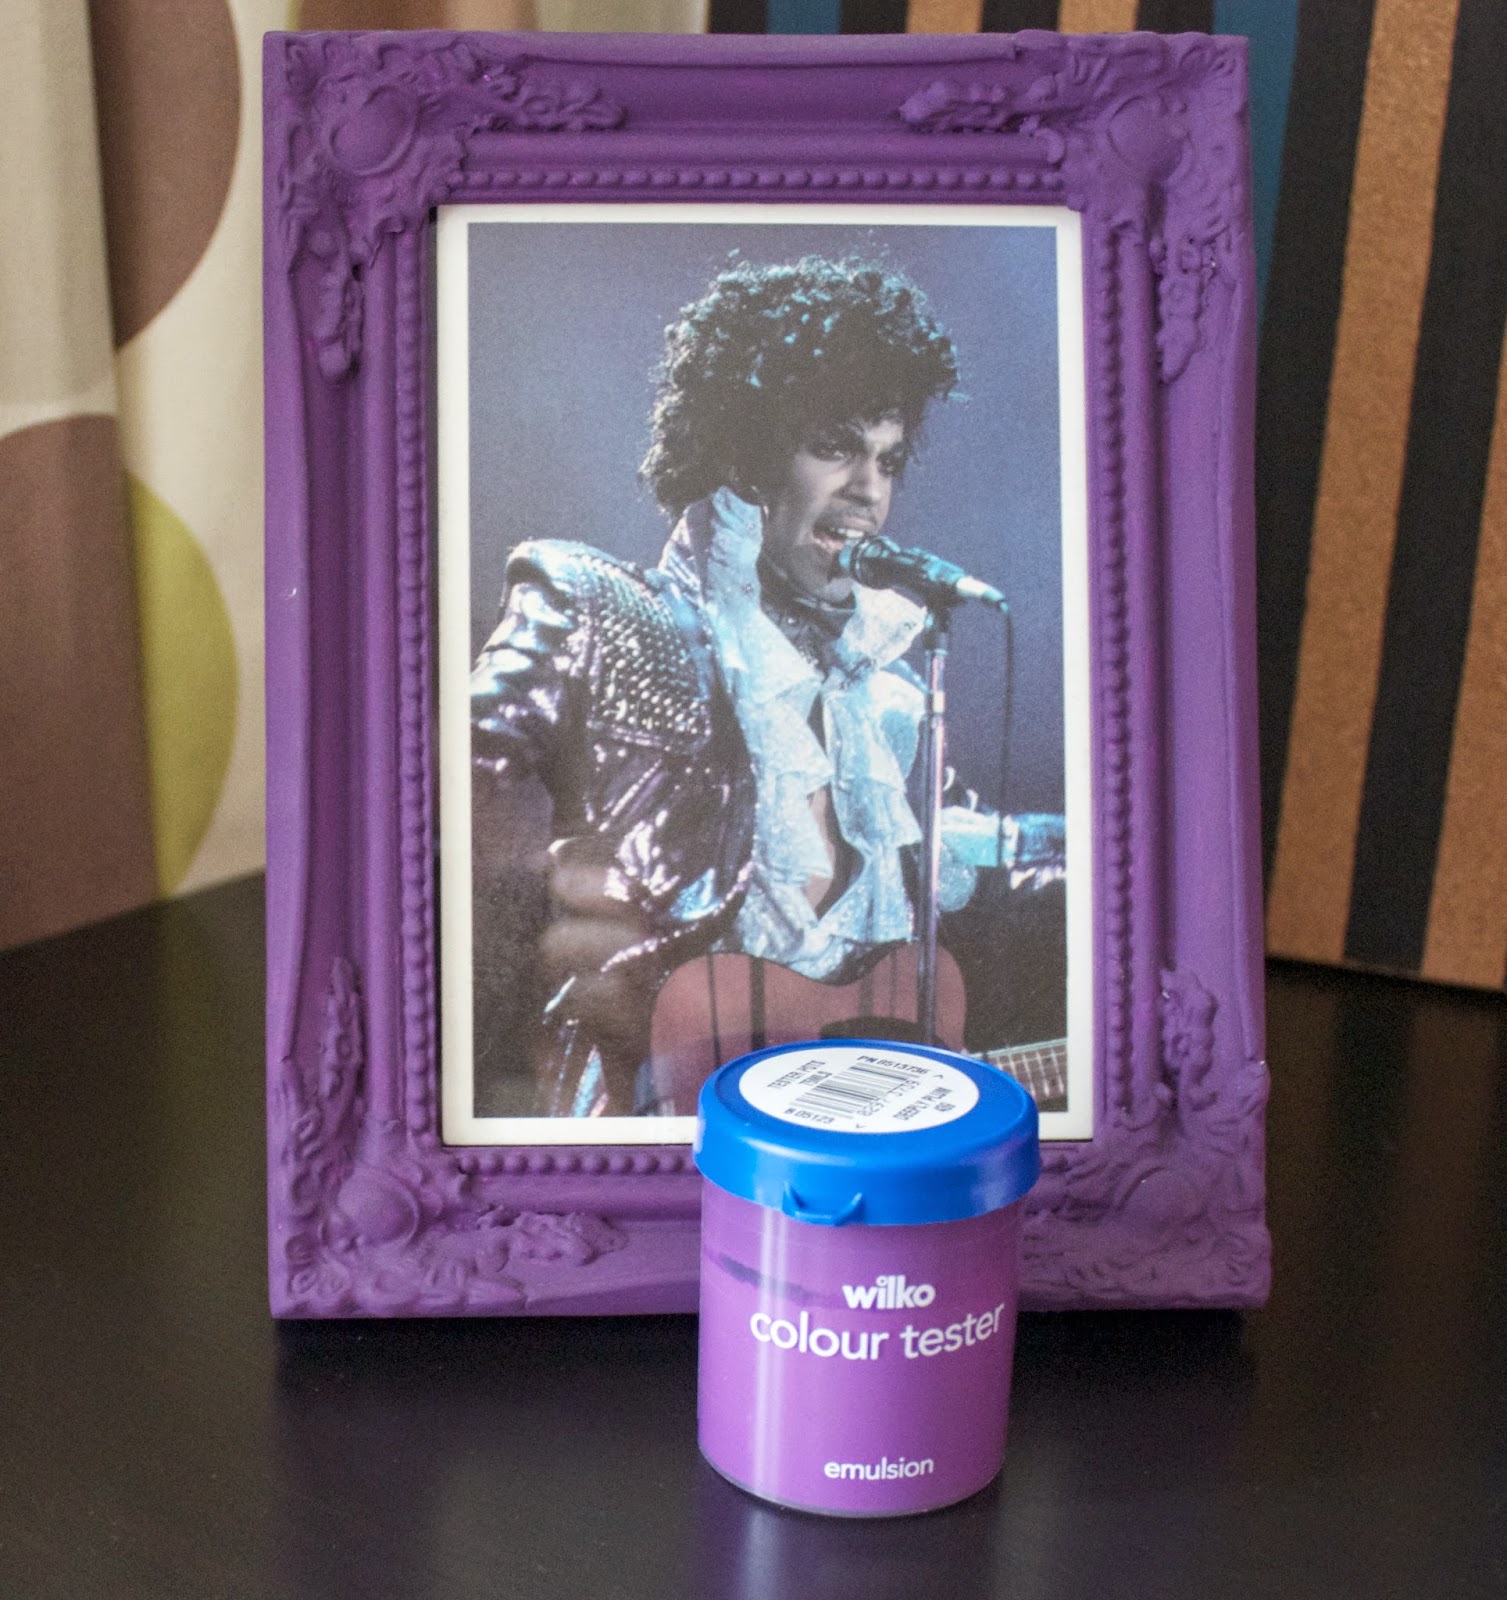
Purple Frame, Purple Frame

A couple of months back D and I took a little trip to Bournemouth (I lived there a few years back and I wanted to show him the town). On a trip to Poole we found a secondhand record shop that sold all kinds of amazing stuff - including an awesome press postcard of Prince. We had to have it!
But our new picture needed a frame, so off we went hunting. We came across this awesome one from (yes, you guessed it) Wilkinson's (it was about a fiver - I think). The only problem was... the frame was white!!! We all know that a picture of Prince can only be placed in a purple frame, so off to the paint section we went.
Leather & Knitted Jewellery Ideas
1) Knitted Bow Broaches
Supplies needed: Two bundles of different coloured wool, a set of knitting needles (remember, the thinner the needle, the smaller the knitted stitch) and a broach back.
How to make these knitted bows:
Knit a small rectangular shape (in one colour), then use your second coloured wool to wrap around the middle of your rectangle. Wrap it around about 10 times. Next, open your broach clasp and wrap your wool around the clasp. Don't wrap it around too many times, as you will need to be able to close and attach the clasp.

2) Knitted Bow Necklaces
Supplies needed: Two bundles of different coloured wool, a set of knitting needles, two large jump rings and a set of jewellery pliers.
How to make these knitted bows:
Knit a small rectangular shape (in one colour), then use your second coloured wool to wrap around the middle of your rectangle. Wrap it around between 20/30 times and secure with a knot at the back of the bow. Carefully use the pliers to open the jump rings and attached them to your bow, then close them tightly with the pliers. Next, attach one, or several pieces of wool to the two jump rings in order to create your wool necklace.

3) Knitted Bow Bracelets
It's basically the same as the techniques above. All you need to do this time is add the wool to the wrapped centre in order to create the tie for your bracelets. You'll have it in no time.

4) Cute Gingham Bows
Supplies needed: Gingham material, wool or ribbon and a broach back.
How to make these simple bows:
Cut a small rectangular shape from the gingham material, then use your wool or ribbon to wrap around the middle of your rectangle. If you're using the wool wrap it around about 5 times. Next, open your broach clasp and wrap your wool/ribbon around the clasp. Don't wrap it around too many times, as you will need to be able to close and attach the clasp.
So cute!

5) Individual Necklace Inspiration

6)Leather Heart Broaches - part 1
Supplies needed: Leather samples, Copydex glue and a broach back. How to make these simple broaches:
Cut your leather into your desired shapes, then attach them to one another with the glue. You can either carefully sew the broach back onto the leather (this can be very tricky) or simply glue them on.

7)Leather Heart Broaches - part 2

8)Leather Bird Broaches - part 1

9)Leather Bird Broaches - part 2

Christmas Decorations
Here are some simple Christmas decorations anyone can make.
Supplies needed: Felt/material (various), stuffing, ribbons, old buttons, a needle and thread. How to make these simple decorations:
Choose your desired shape and cut this into your felt/material twice. Sew the two pieces together, leaving a small space to stuff the decorations, then sew closed. Add buttons ribbons and additional stitching for decorative effect. You're only limited by your imagination.
Have fun!


No comments:
Post a Comment